Overview
Quick Build
Weapon
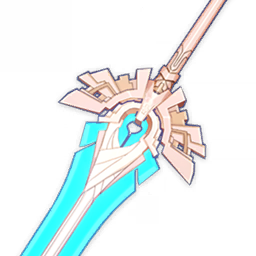
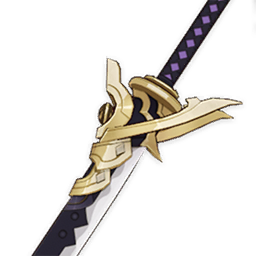
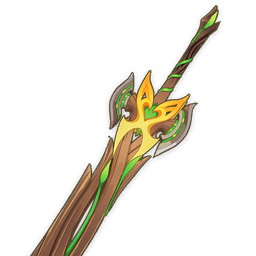
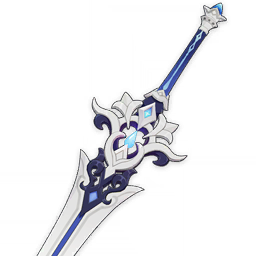
Favonius Greatsword as her BiS weapon. You will need to build some CRIT rate for it however. This weapon will help her B
Artifacts
Viridescent Venerer
4-Piece recommended
Sands
Energy Recharge / Elemental Mastery
Main stat
Goblet
ATK % / Elemental Mastery
Main stat
Circlet
Healing Bonus / Elemental Mastery
Substats
Energy Recharge > Elemental Mastery > ATK % > CRIT Rate (if Favonius)
Strengths
- Yoohoo Art: Fuuin Dash pressing the skill puts Sayo into a Windwheel roll, going a short distance than performing a.
- Yoohoo Art: Mujina Flurry summons a pair of healing hands and deals Anemo damage to nearby enemies.
- Gives Healer coverage that shows up in both Abyss and Theater when built.
- Posts B-tier Spiral Abyss and B in Imaginary Theater on our content ratings strip.
Weaknesses
- Energy planning matters — skimping on ER makes Sayu's Burst feel inconsistent.
- Without key constellations, some of the kit's advertised comfort is missing.
Talent Priority
For Sayu, Elemental Burst is the kit's main payoff — level this first toward 10.
On Sayu, Elemental Skill is the second stop — take it to 8–10 once the primary talent is online.
Sayu's Normal Attack can sit low; it barely moves clear times versus their other talents.
Substat Priority
Cast Skill then Burst each rotation.
Follow the recommended rotation for optimal Sayu performance.
Weapons
5-star Weapons
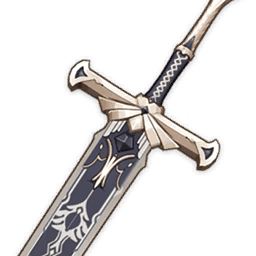
4-star Weapons
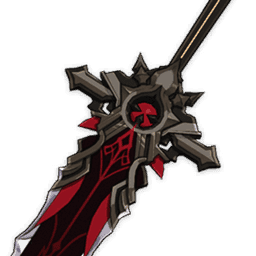
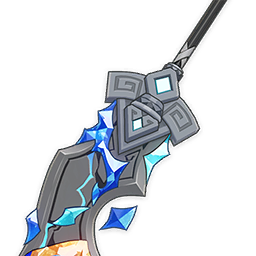
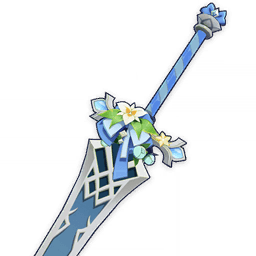

Artifact Sets

Viridescent Venerer, whether you play her on field or off field. It allows both elemental RES shred and increases Sayu's Swirl. You do not have to level Sayu's Normal Attack.
Sands
Energy Recharge / Elemental Mastery
Goblet
ATK % / Elemental Mastery
Circlet
Healing Bonus / Elemental Mastery
Team Compositions

Sayu
Main DPS

Xiao
Support

Fischl
Support
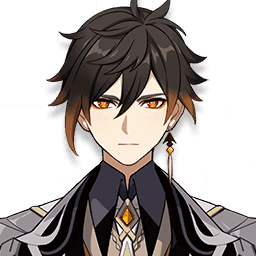
Zhongli
Sustain
Sayu can be a good support for Xiao as she can provide him with a decent healing, and she can also serve as his personal battery. Fischl will serve as an off-field DPS while also applying Electro. Ororon can be used instead of Fischl if you don't have her. Zhongli will provide his shield to the team.
Sayu acts as a mobile healer and VV shredder, utilizing her Skill to traverse the field while swirling elements. She provides consistent party-wide healing while shredding enemy resistances.
Xiao benefits from Sayu's Anemo particle generation, which helps fuel his high-cost Burst. Sayu's healing ensures Xiao can safely consume his own HP during his damage window.
Fischl provides off-field Electro damage that Sayu can swirl to trigger VV RES shred. This increases both Fischl's own damage and the team's overall elemental output.
Zhongli provides an unbreakable shield and universal RES shred, which protects the team during Xiao's Burst. His presence ensures the party can ignore enemy attacks while focusing on damage.
Talents & Constellations
Talents
Sayu performs a sequence of Claymore-based Normal Attacks.
Pressing the skill puts Sayo into a Windwheel roll, going a short distance than performing a whirlwind kick dealing Anemo DMG. Holding the skill down puts her into a continuous Windwheel, rolling around the field absorbing any elements she comes across and dealing that Elemental DMG on the field.
This summons a pair of healing hands and deals Anemo damage to nearby enemies. If the HP of the active character is above 70% you will deal more Anemo damage, if it is below you will heal the active character more.
Constellations
The Muji-Muji Daruma created by Yoohoo Art: Mujina Flurry will ignore HP limits and can simultaneously attack nearby opponents and heal characters.
Is it worth getting?
Sayu's C1 (Multi-Task no Jutsu) helps when you lean into that part of the kit: The Muji-Muji Daruma created by Yoohoo Art: Mujina Flurry will ignore HP limits and can simultaneously attack nearby opponents and heal….
Yoohoo Art: Fuuin Dash gains the following effects. - DMG of Fuufuu Whirlwind Kick in Tapping (mobile) / Press (PC & PlayStation) Mode increased by 3.3%. - Every 0.5s in the Fuufuu Windwheel state will increase the DMG of this Fuufuu Whirlwind Kick by 3.3%.
Is it worth getting?
Worth getting on Sayu — Egress Prep. - DMG of Fuufuu Whirlwind Kick in Tapping (mobile) / Press (PC & PlayStation) Mode increased by 3.3%.
- Increases the Level of Yoohoo Art: Mujina Flurry by 3. - Maximum upgrade level is 15.
Is it worth getting?
C3 levels Yoohoo Art: Mujina Flurry by 3 for Sayu. Solid for mains; skippable if you only needed earlier breakpoints.
Sayu recovers 1.2 Energy when she triggers a Swirl reaction. This effect occurs once every 2s.
Is it worth getting?
Sayu's C4 (Skiving: New and Improved) helps when you lean into that part of the kit: Sayu recovers 1.2 Energy when she triggers a Swirl reaction.
- Increases the Level of Yoohoo Art: Fuuin Dash by 3. - Maximum upgrade level is 15.
Is it worth getting?
Pure talent bump on Sayu's Yoohoo Art: Fuuin Dash. Pick it up after the nodes that change the rotation, not before.
The Muji-Muji Daruma created by Sayu's Yoohoo Art: Mujina Flurry will now also benefit from her Elemental Mastery. Each point of Sayu's Elemental Mastery will produce the following effects. - Increases the damage dealt by the Muji-Muji Daruma's attacks by 0.2% ATK.
Is it worth getting?
Worth getting on Sayu — Sleep O'Clock. The Muji-Muji Daruma created by Sayu's Yoohoo Art: Mujina Flurry will now also benefit from her Elemental Mastery.
You don't need constellations to use Sayu. Yoohoo Art: Fuuin Dash pressing the skill puts Sayo into a Windwheel roll, going a short distance….
Alternatives to Sayu
Not sure Sayu is right for you? Compare against other characters to find your best pull.

Lynette answers with Enigmatic Feint (restores her HP, but she will lose a certain amount of HP per second after 4 seconds). Different job than Sayu's Healer slot — compare teams before swapping.

Lan Yan leans on Swallow-Wisp Pinion Dance, which summoning forth the Swallow-Wisp Shield, a secret art passed down across generations, Lan Yan. That's a Support answer, while Sayu is built as a Healer.

Faruzan answers with Wind Realm of Nasamjnin (deals AoE Anemo DMG to nearby opponents). Pick Faruzan when you want Support duty instead of Sayu's Healer pattern.

Ifa leans on Airborne Disease Prevention, which gains 80 Nightsoul points and enters the Nightsoul's Blessing state. Pick Ifa when you want Support duty instead of Sayu's Healer pattern.