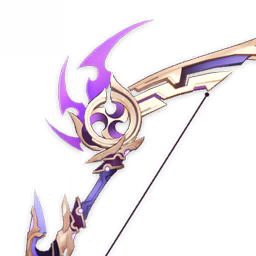
Thundering Pulse
Passive: Rule by Thunder
Base ATK 608 · Substat CRIT DMG 66.2%Lv90 R1
Weapon Event BannerShould You Pull?
Signature-tier on Aloy / Fischl / Yoimiya — Rule by Thunder is the kit hook those builds lean on. Pull on the weapon banner only if you main Aloy / Fischl / Yoimiya and want their ceiling now.
Stats
Base ATK
608
Secondary
CRIT DMG 66.2%
Weapon Passive
Rule by Thunder
Increases ATK by 20% and grants the might of the Thunder Emblem. At stack levels 1/2/3, the Thunder Emblem increases Normal Attack DMG by 12/24/40%. The character will obtain 1 stack of Thunder Emblem in each of the following scenarios: Normal Attack deals DMG (stack lasts 5s), casting Elemental Skill (stack lasts 10s); Energy is less than 100% (stack disappears when Energy is full). Each stack's duration is calculated independently.
Limited 5★ — R1 already unlocks the kit. R5 is a large passive jump but an expensive vertical investment; only refine if this is a signature you play every abyss.
Best Characters

Recommended
Main DPS
Increases ATK by 20% / 25% / 30% / 35% / 40% and grants the might of the Thunder Emblem. At stack levels 1/2/3, the Thunder Emblem increases Normal Attack DMG by 12/24/40% / 15/30/50% / 18/36/60% / 21/42/70% / 24/48/80%.

Recommended
Sub-DPS
Best in slot. CRIT DMG substat and stacking ATK% passive push Oz's damage to its ceiling. The premier 5★ for Fischl.

Recommended
Main DPS
Thundering Pulse is the weapon that released with Yoimiya and is her best weapon as she is able to utilize the entire passive effect.

Main DPS
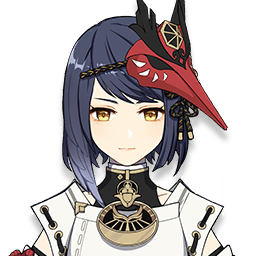
High Base ATK and CRIT DMG. Passive stacks on Normal Attacks — well-utilized in Melee Stance. Strong alternative 5★.
Support
Increases ATK by 20% / 25% / 30% / 35% / 40% and grants the might of the Thunder Emblem. At stack levels 1/2/3, the Thunder Emblem increases Normal Attack DMG by 12/24/40% / 15/30/50% / 18/36/60% / 21/42/70% / 24/48/80%.
Sample Teams
From characters who rank this weapon in their top two options.
Freeze
Aloy #1

This team leverages Aloy as a quick-swap burst DPS alongside Ayaka for immense Cryo damage. Furina provides team-wide buffs while Jean enables the Viridescent Venerer set and party healing.
View teamFreeze
Aloy #1
This composition maximizes damage through Escoffier's powerful resistance shred. It excels at freezing opponents while maintaining high uptime on consistent Hydro application.
View teamFreeze
Aloy #1
This team pairs Aloy with Ganyu to create a high-damage Freeze setup. Escoffier ensures both survivability and massive resistance reduction for the team's Cryo damage.
View teamFreeze
Aloy #1
Focusing on heavy Cryo amplification, this team uses Shenhe to boost Aloy's damage potential. Ganyu adds reliable long-range damage to complement the short-burst windows.
View teamAggravate (Quicken)
Fischl #1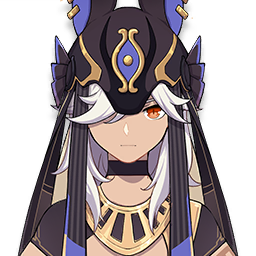


Fischl provides the core Electro off-field application in Aggravate teams. Dendro characters apply Quicken, and Fischl's Oz converts every Dendro/Electro hit into Aggravate triggers. Cyno or Keqing serve as the on-field Electro DPS amplified by Aggravate.
View teamTaser (Electro-Charged)
Fischl #1

Classic Taser team where Fischl and Beidou provide staggered off-field Electro while a Hydro character applies the aura. Electro-Charged ticks constantly, and Fischl's A4 fires Oz on every reaction trigger.
View teamCompare Similar Bows
| Weapon | Base ATK | Secondary | Rarity |
|---|---|---|---|
| 608 | CRIT DMG 66.2% | 5★ |
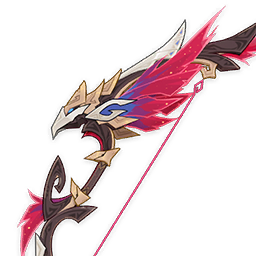 | 608 | CRIT DMG 66.2% | 5★ |
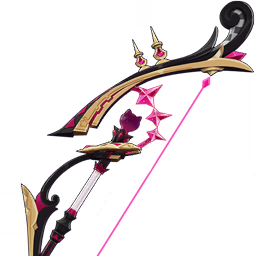 | 608 | CRIT DMG 66.2% | 5★ |
 | 542 | CRIT DMG 88.2% | 5★ |
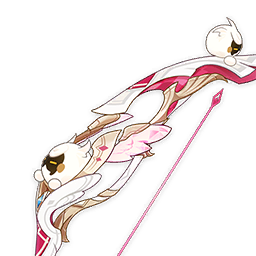 | 542 | CRIT DMG 88.2% | 5★ |
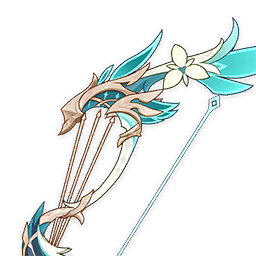 | 674 | CRIT DMG 44.1% | 5★ |